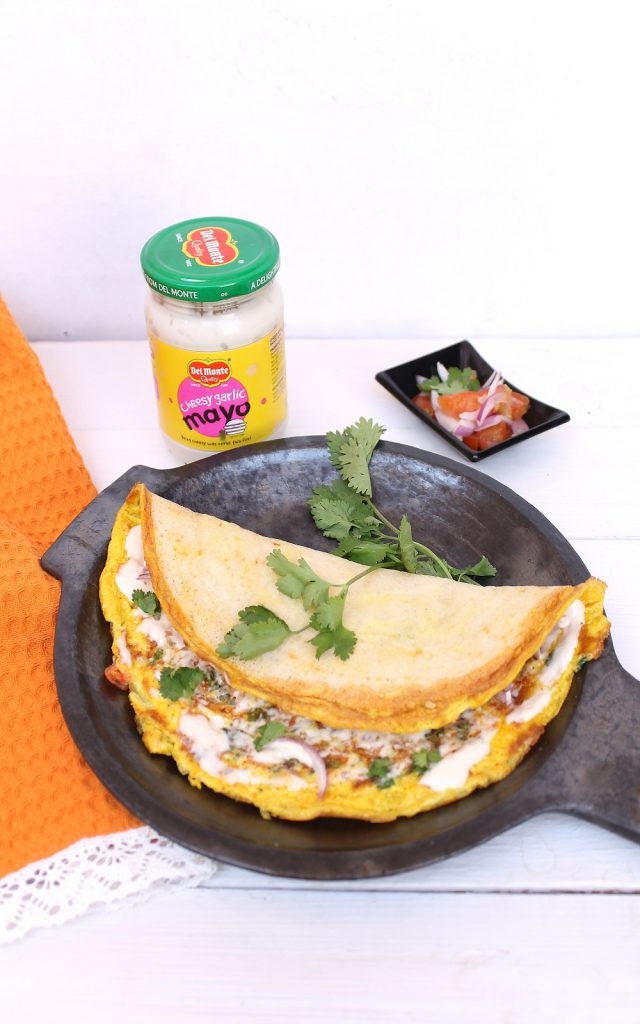
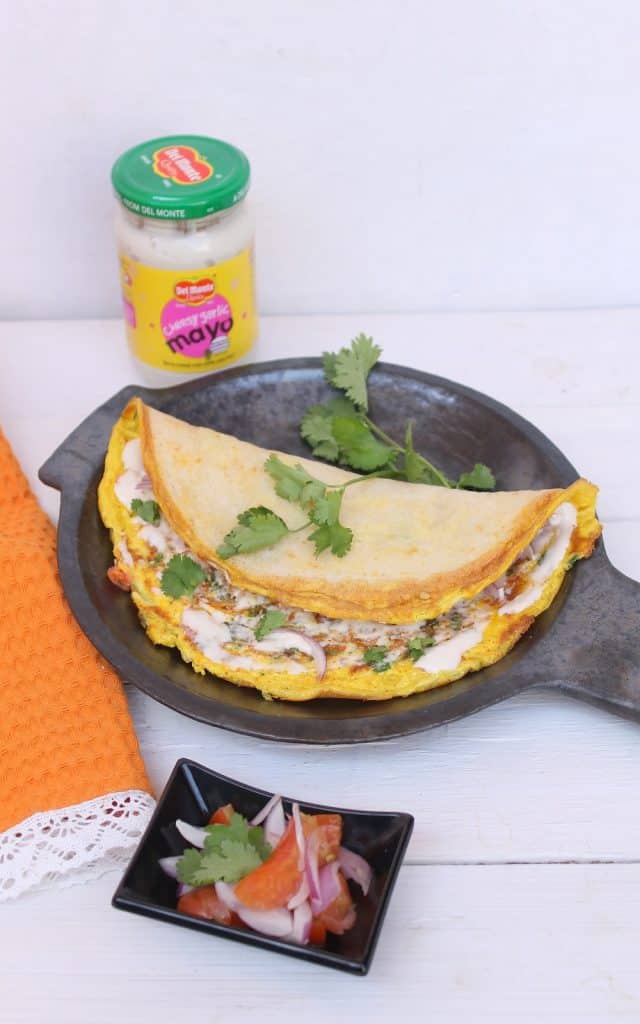
Egg dosa with mayonnaise is a dosa variety that can be made easily for breakfast. Dosa is a savory crepe made with rice and lentil batter. I have added eggless cheesy garlic mayo as a topping on dosa which has egg batter spread on it. This egg dosa with cheesy garlic mayo tastes delicious and is an innovative twist to the regular dosa.

The dosa is cooked like a regular dosa which is made with batter made of rice and lentils. This is topped with some cheesy garlic mayo and egg batter and cooked to perfection. While serving again spread some cheesy garlic mayo and julienned onions. The dosa not just tastes yummy but really tastes like a cheesy pizza dosa. Oh yes! That’s what my little one said that it tastes like a pizza.
Dosa batter can be made by fermenting rice with lentils. However, if you don’t have time to make dosa batter from scratch, you can use readymade dosa batter which is now easily available in most of the Indian stores.
You might be interested in checking other dosa recipes like:
- Mango dosa
- Dill leaves dosa
- Kodu millet dosa
- Fenugreek dosa / methi dosa
- Moong dosa / green gram dosa
Ingredients used in making egg dosa with mayo:
For dosa batter:
- Rice: I have used dosa rice in making this dosa batter. If dosa rice is not available, you can use any type of parboiled rice. Do not use Basmati rice or Jasmine rice to make dosa batter as it is starchy and will yield rubbery dosa.
- Lentils: I have used urad dal or split black gram. Batter made with lentils is used for fermenting the dosa batter. Fermentation is the main step for creation of delicious crispy dosa. If the dosa batter is not well fermented, the taste of the dosa will not be similar to a dosa made with fermented batter.
For egg batter to spread on dosa:
- Eggs: Use any type of chicken eggs to make egg batter to spread on the dosa.
- Vegetables: Red onion and tomatoes are the vegetables which are chopped and added to egg batter.
- Mayonnaise: Eggless cheesy garlic mayonnaise is used in this breakfast dosa recipe.
- Spice powders: Turmeric powder and red chili powder are the spice powders which are added in the egg batter to make it slightly spicy and delicious.
For garnish:
- Few onion juliennes and chopped coriander leaves are added for garnishing the crispy dosa.
How to make egg dosa with mayonnaise?
For making dosa batter for crispy egg dosa with mayo:
- Soak rice and dal for 4 hours in water.
- After 4 hours, drain the water and grind the rice and dal together to form thick dosa batter.
- Cover it and let it ferment overnight or for 8 hours.
- Add salt just before making the dosas and mix.
For making the egg batter:
- Take a mixing bowl and crack open the eggs. Discard the shell.
- Add turmeric power, red chili powder, chopped onion, chopped tomato, chopped coriander leaves, salt to taste, and mix well.
Let us start preparing the egg dosa with cheesy garlic mayo:
- Heat a tava/griddle and smear 1 tablespoon oil.
- Take a ladle full of dosa batter and pour it on the hot tava/griddle.
- Immediately spread the batter on tava by moving the ladle in circular direction all over on the batter till batter spreads around in thin consistency.
- As soon as bubbles start appearing on the top side, lower the heat.
- Smear 2 tablespoon mayo all over.
- Now pour the prepared egg batter on the dosa ensuring that the egg batter spreads evenly all over the dosa.
- Cover the dosa pan and let this get cooked over low heat.
- Once the egg is cooked, gently flip dosa and let it cook further till the egg gets cooked.
- After the egg and mayo dosa is cooked, remove the dosa on a plate and apply 2 tablespoon mayo all over it.
- Garnish with julienned onions and chopped coriander leaves.
This dosa need not be served with chutneys, but just like other dosa varieties, it should be served hot. So, this recipe becomes a star in any Sunday brunch. You can serve it with a glass of tea or fresh fruit juice.
You can cook this recipe for evening snacks or light dinner too specially after returning home tired from office. The egg dosa with cheesy mayo gets cooked quickly. I have used 2 eggs per dosa; however, you can prepare this dosa with one egg and reduce the ingredients mentioned in egg batter to half.
Egg Dosa with Cheesy Mayo
Ingredients
For dosa batter:
- 1 cup dosa rice
- 1/4 cup urad dal / Split black gram dal
- 1 teaspoon salt
Egg batter per dosa:
- 2 eggs
- 1/4 onion finely chopped
- 1/2 tomato finely chopped
- 1 tablespoon coriander leaves finely chopped
- 4 tablespoon Delmonte cheesy garlic mayo
- 1/2 teaspoon turmeric powder
- 1 teaspoon red chili powder
- To taste salt
For garnish:
- 1 onion julienne
- coriander leaves finely chopped
- 2 tablespoon oil
Instructions
For making dosa batter for crispy egg dosa with mayo:
- Soak rice and dal for 4 hours in water.
- After 4 hours, drain the water and grind the rice and dal together to form thick dosa batter.
- Cover it and let it ferment overnight or for 8 hours.
- Add salt just before making the dosas and mix.
For making the egg batter:
- Take a mixing bowl and crack open the eggs. Discard the shell.
- Add turmeric power, red chili powder, chopped onion, chopped tomato, chopped coriander leaves, salt to taste, and mix well
- Let us start preparing the egg dosa with cheesy garlic mayo.
- Heat a tava/griddle and smear 1 tablespoon oil.
- Take a ladle full of dosa batter and pour it on the hot tava/griddle.
- Immediately spread the batter on tava by moving the ladle in circular direction all over on the batter till batter spreads around in thin consistency.
- As soon as bubbles start appearing on the top side, lower the heat.
- Smear 2 tablespoon mayo all over.
- Now pour the prepared egg batter on the dosa ensuring that the egg batter spreads evenly all over the dosa.
- Cover the dosa pan and let this get cooked over low heat.
- Once the egg is cooked, gently flip dosa and let it cook further till the egg gets cooked.
- After the egg and mayo dosa is cooked, remove the dosa on a plate and apply 2 tablespoon mayo all over it.
- Garnish with julienned onions and chopped coriander leaves.
Pin this image on Pinterest.
Note: The post was originally published on 01 Nov 2016 and is re-published.


Leave a Reply